A landscaping project can completely transform your home’s outdoor space. Whether you want better curb appeal, a relaxing backyard retreat, or a more functional yard for entertaining, proper planning makes all the difference.
Without a clear plan, landscaping projects can become expensive, stressful, and time-consuming. But when you break the process into manageable steps, it becomes much easier to handle.
In this comprehensive guide, you will learn how to plan a landscaping project from start to finish. We’ll cover budgeting, design, plant selection, hiring professionals, DIY tips, timelines, and long-term maintenance. By the end, you will feel confident about starting your outdoor upgrade the right way.
Step 1: Define Your Goals
Before buying plants or materials, ask yourself an important question:
What do I want from this landscaping project?
Every successful outdoor upgrade starts with a clear purpose.
You may want to:
- Increase curb appeal before selling your home
- Create a relaxing outdoor living space
- Add a patio or outdoor kitchen
- Improve drainage and solve water problems
- Reduce maintenance
- Build a kid- or pet-friendly yard
- Grow vegetables or flowers
Write down your top priorities. If you try to do everything at once, your budget and timeline may quickly grow out of control.
When goals are clear, decisions become easier. For example, if low maintenance is your priority, you will choose drought-tolerant plants and simple layouts instead of large flower beds that require constant care.
Step 2: Assess Your Current Yard
Take time to evaluate your existing space. Walk around your yard at different times of the day.
Look for:
- Sun and shade patterns
- Sloped areas
- Drainage issues after rain
- Bare patches in the lawn
- Overgrown plants
- Cracks in walkways or patios
- Areas that feel unused or awkward
Take photos and measurements. Measure the width and length of your yard, existing patios, and garden beds. This information helps you create a realistic design.
Also consider your climate zone. Choosing plants that thrive in your local environment will save money and prevent future problems.
Step 3: Set a Realistic Budget
A landscaping project can cost anywhere from a few hundred dollars to tens of thousands. Your budget will guide your choices.
Start by determining:
- How much you can comfortably spend
- Whether you will complete the project in phases
- Which parts require professional help
Break your budget into categories:
- Materials (plants, soil, mulch, pavers)
- Labor (if hiring contractors)
- Equipment rental
- Lighting and irrigation
- Decorative features
It’s smart to set aside 10–20% of your budget for unexpected costs.
If you are working with limited funds, focus first on the improvements that bring the biggest visual impact. Simple upgrades like mulch, edging, and lighting often cost less but dramatically improve appearance.
Step 4: Gather Inspiration
Before creating your final design, gather ideas. Look at:
- Home improvement blogs
- Landscaping magazines
- Social media platforms
- Local neighborhoods
Pay attention to yards similar in size to yours. A design that works on a large property may not suit a small suburban yard.
When gathering inspiration, focus on:
- Layout and flow
- Color schemes
- Hardscaping materials
- Plant combinations
- Outdoor furniture styles
Save images and note what you like about them. This will help you communicate clearly if you hire a landscaper.
Step 5: Create a Simple Landscape Design Plan
You do not need advanced design software. A hand-drawn sketch works fine.
Start with a basic outline of your yard. Then divide it into zones based on function.
For example:
- Entertainment area (patio or deck)
- Lawn space
- Garden beds
- Pathways
- Storage area
Keep these design principles in mind:
1. Balance
Avoid placing all large elements on one side. Spread features evenly.
2. Scale
Choose plants and features that fit your yard size. Large trees can overwhelm small spaces.
3. Flow
Make sure there is a clear path from one area to another.
4. Focal Points
Add one main feature like a fire pit, water feature, or statement plant.
When designing, think long-term. Plants grow. Trees spread. Leave enough space between elements to avoid overcrowding in a few years.
Step 6: Decide What to DIY and What to Hire Out
Some landscaping tasks are beginner-friendly. Others require skill and experience.
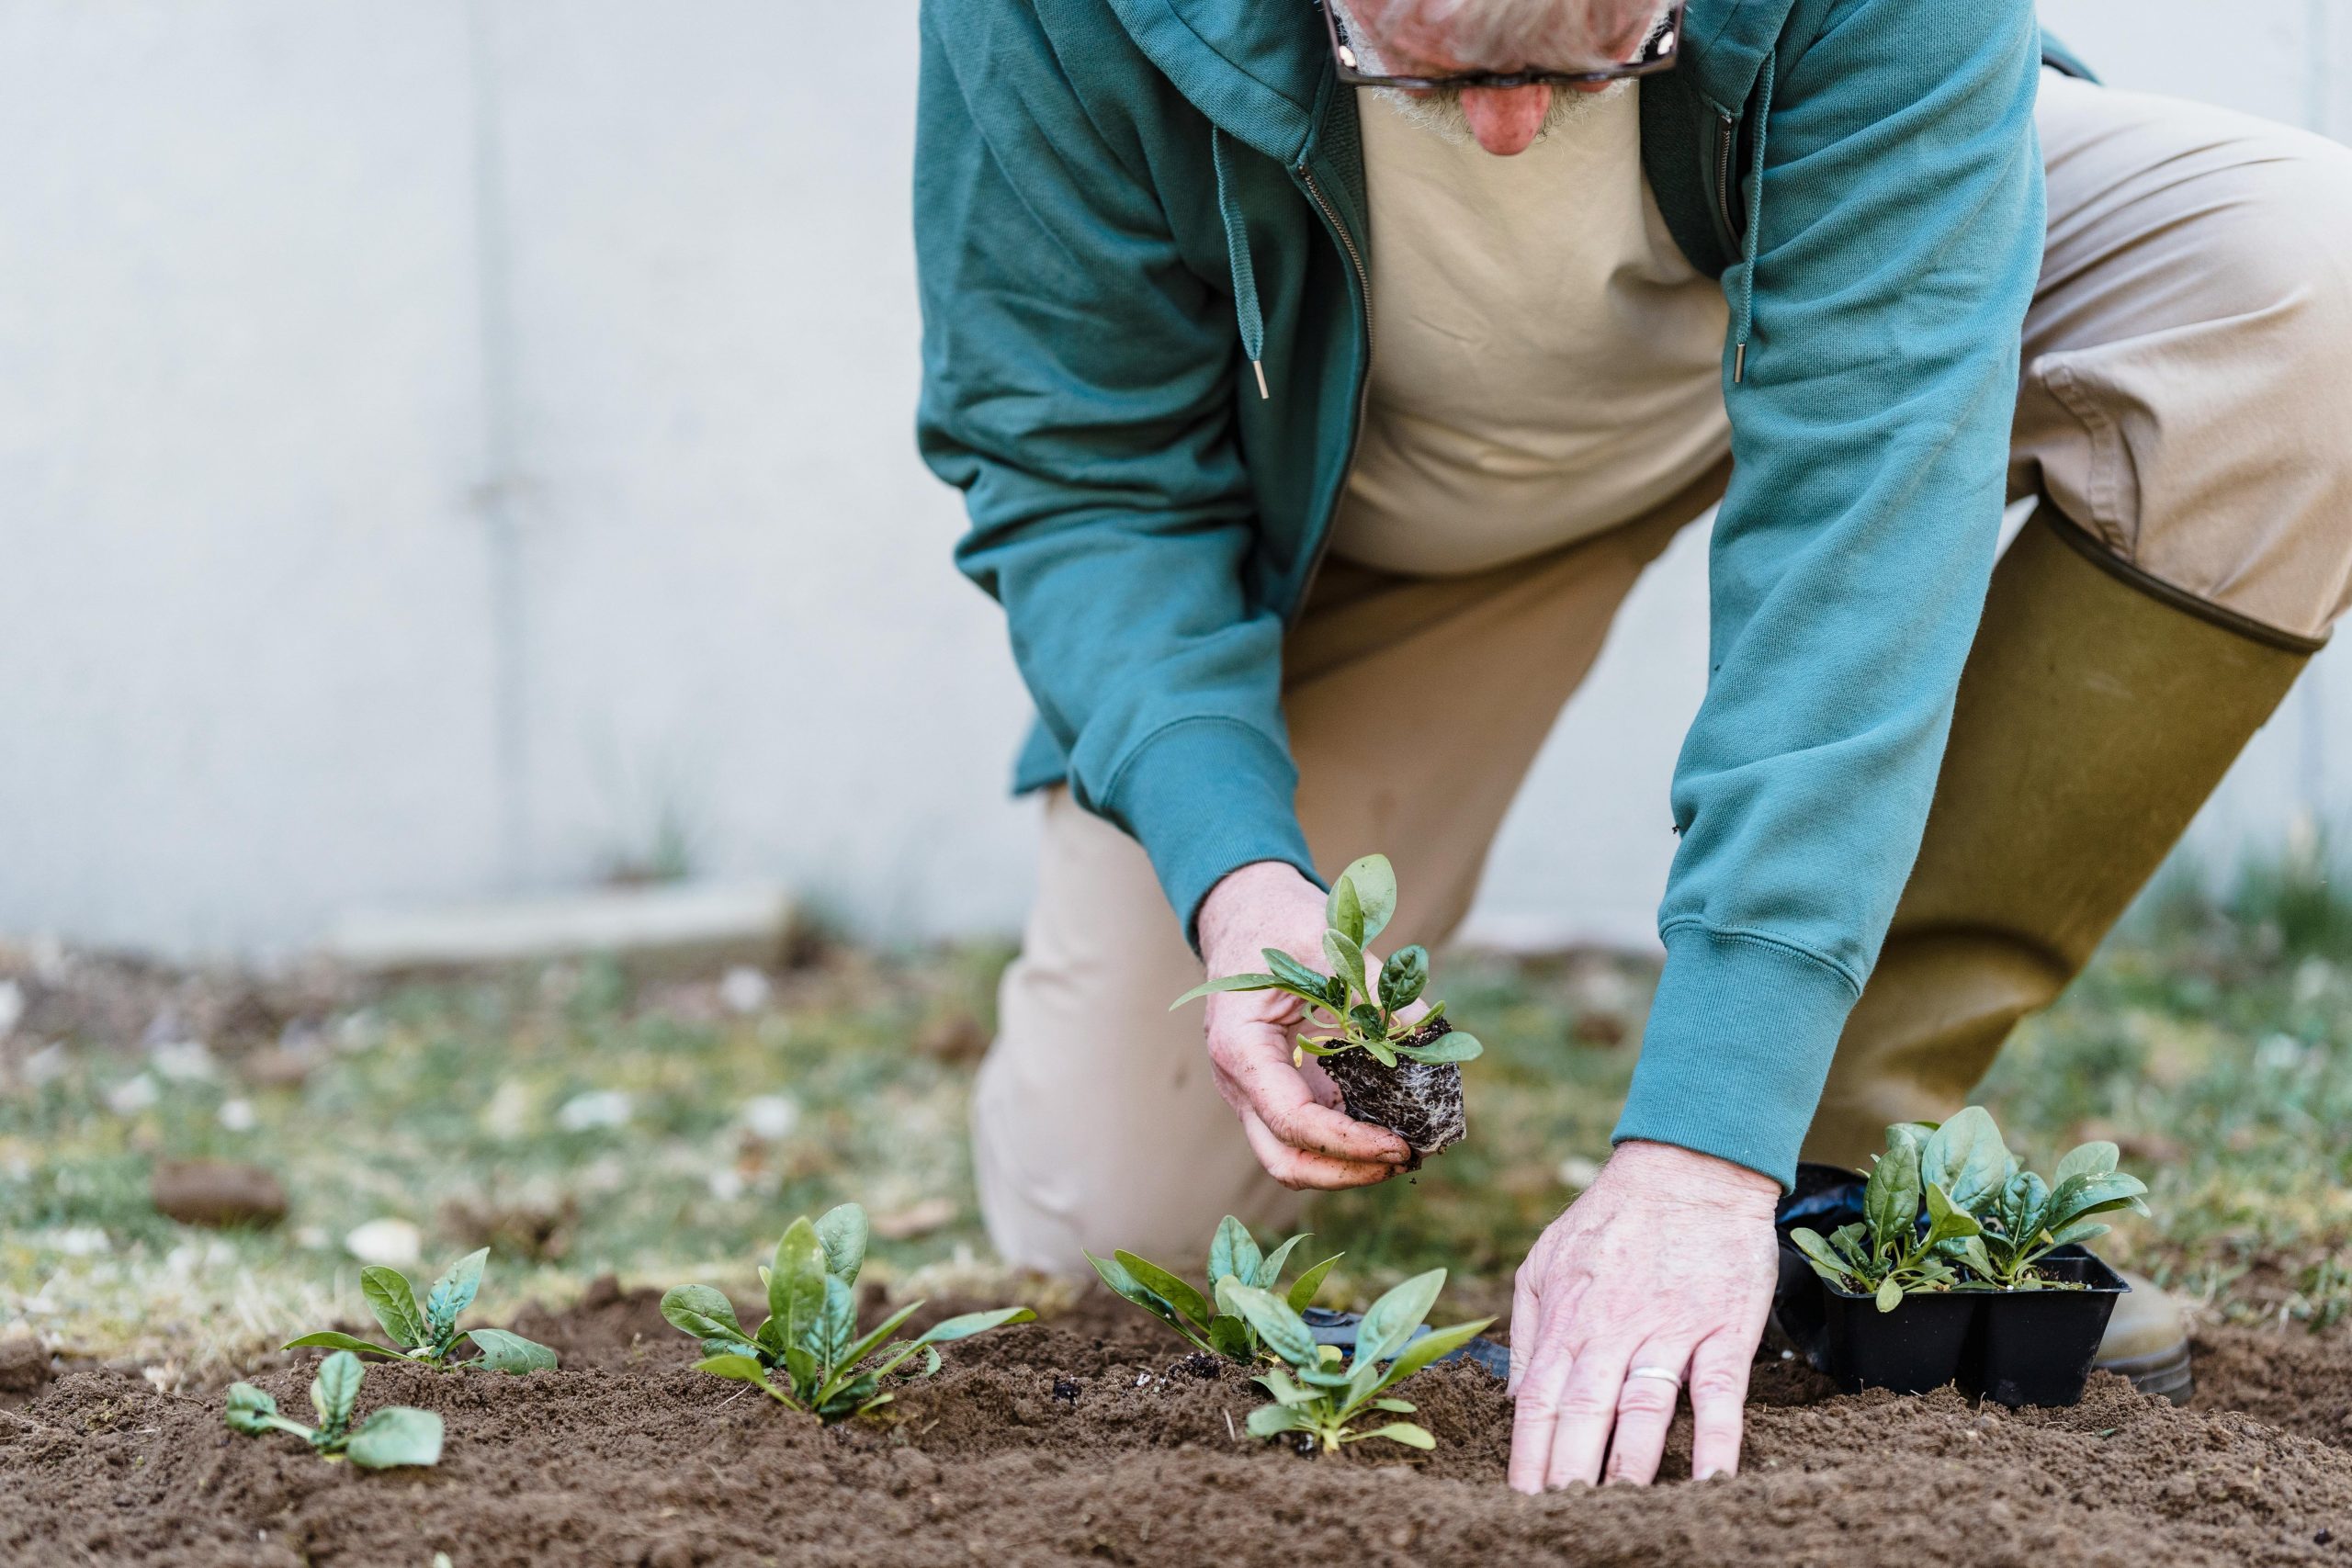
Good DIY Projects:
- Planting flowers and shrubs
- Installing mulch
- Building simple garden beds
- Adding solar lighting
- Laying gravel
Consider Hiring Professionals For:
- Large retaining walls
- Irrigation systems
- Electrical work
- Major grading or drainage correction
- Concrete installation
If your landscaping project involves structural changes, hiring a professional can prevent costly mistakes.
Get multiple quotes before committing to a contractor. Always check reviews and ask for references.
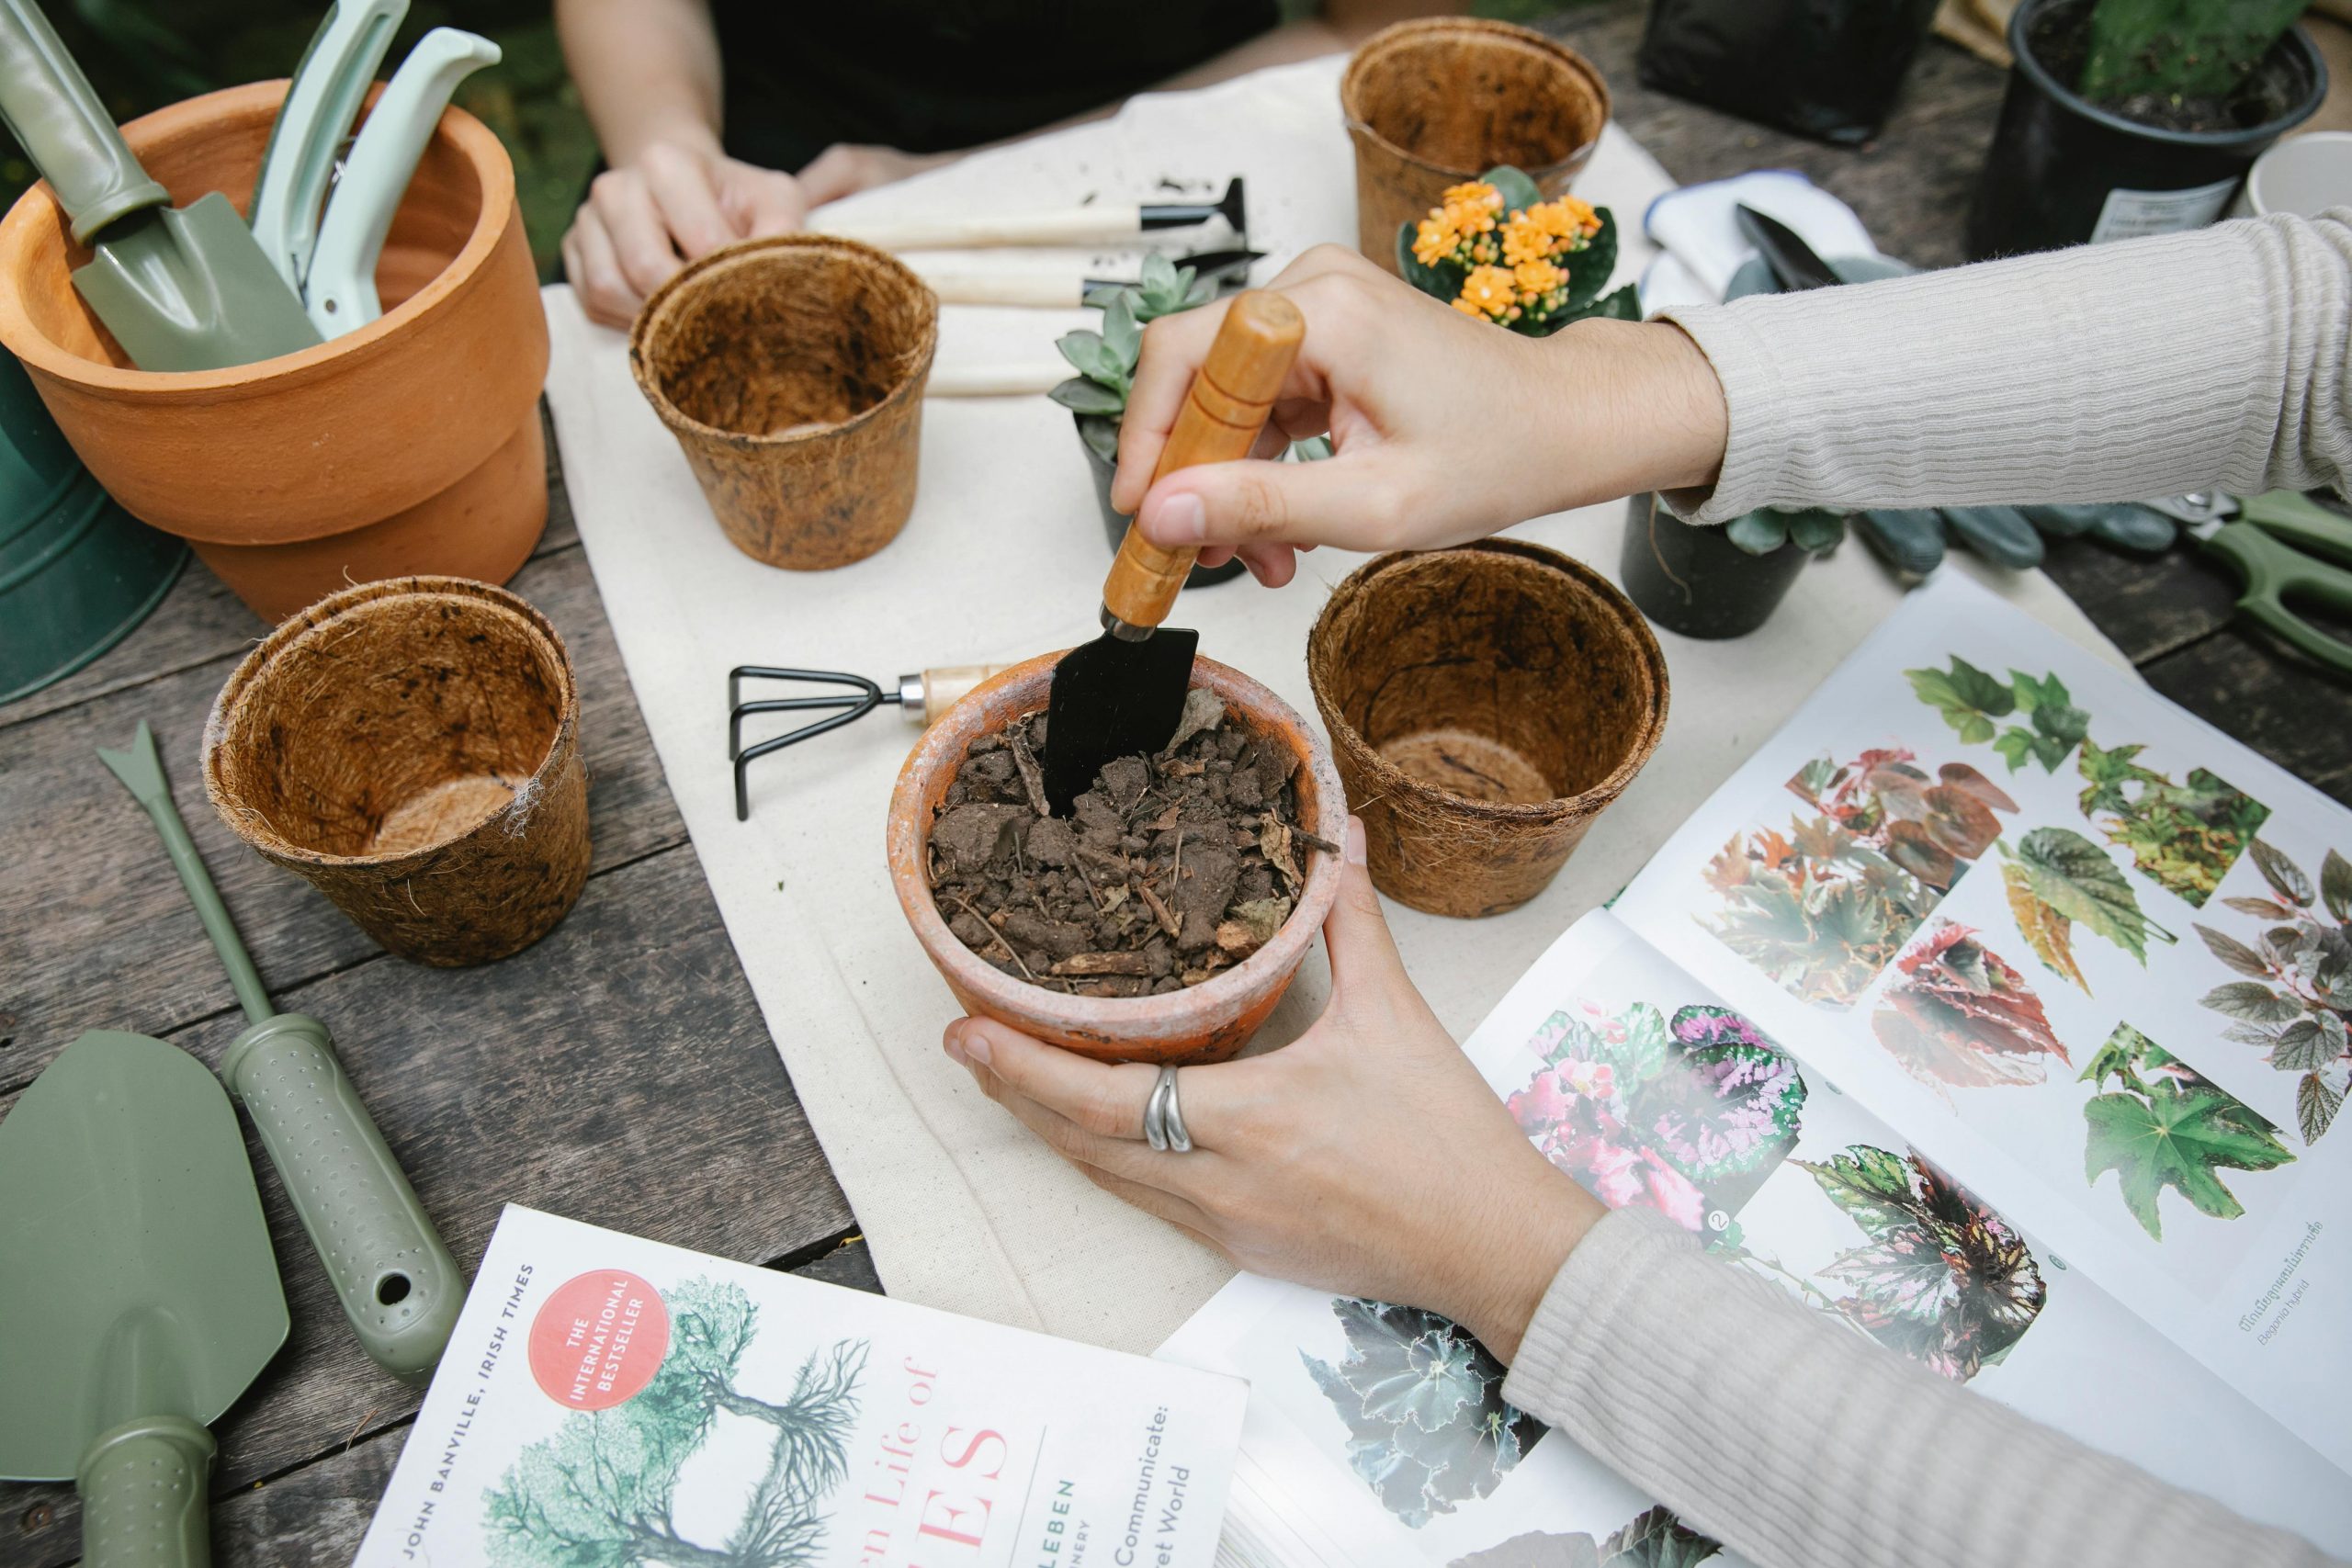
Step 7: Choose the Right Plants
Plant selection is one of the most important parts of any landscaping project.
Focus on:
- Climate compatibility
- Sunlight needs
- Water requirements
- Mature size
- Maintenance level
Choose a mix of:
- Evergreen plants for year-round structure
- Flowering plants for color
- Ground cover to reduce weeds
- Shrubs for privacy
Layer plants by height:
- Taller plants in the back
- Medium plants in the middle
- Short plants in the front
This layering effect creates depth and makes your yard look professionally designed.
Step 8: Plan Your Hardscaping
Hardscaping includes patios, walkways, retaining walls, and decks. These features give your yard structure.
Before installing hardscaping:
- Check local building codes
- Mark underground utility lines
- Plan drainage carefully
Popular hardscaping materials include:
- Concrete pavers
- Natural stone
- Brick
- Gravel
- Wood
Choose materials that complement your home’s exterior. Consistency improves curb appeal.
Hardscaping is often the most expensive part of a landscaping project, so plan carefully.
Step 9: Improve Drainage and Irrigation
Water management is essential.
Poor drainage can damage plants, create mud, and weaken foundations.
Consider:
- Grading adjustments
- French drains
- Dry creek beds
- Rain gardens
- Downspout extensions
If you live in a dry climate, installing drip irrigation saves water and supports healthy plants.
Planning irrigation early prevents digging up finished landscaping later.
Step 10: Incorporate Lighting
Outdoor lighting enhances safety and atmosphere.
Strategic lighting can:
- Highlight focal points
- Illuminate walkways
- Increase security
- Extend outdoor living into the evening
Budget-friendly lighting options include:
- Solar pathway lights
- String lights over patios
- LED spotlights
Lighting adds depth and makes your landscaping project feel complete.
Step 11: Phase Your Project if Needed
Large landscaping projects do not need to happen all at once.
If budget or time is limited, break it into phases:
Phase 1:
- Cleanup and removal
- Soil preparation
- Basic planting
Phase 2:
- Hardscaping installation
- Lighting
Phase 3:
- Decorative elements
- Furniture and finishing touches
Phasing helps manage costs and prevents overwhelm.
Step 12: Consider Budget-Friendly Alternatives
If your budget is tight, look for affordable solutions.
There are many cheap landscaping ideas that still deliver impressive results. For example:
- Use mulch instead of stone in some areas
- Plant smaller, younger shrubs
- Choose gravel patios instead of poured concrete
- Repurpose materials
You can also shop at local nurseries during end-of-season sales.
Being flexible with materials and timing can significantly lower overall costs.
Step 13: Create a Realistic Timeline
A landscaping project takes time.
Create a timeline that includes:
- Design planning
- Material delivery
- Planting season considerations
- Contractor availability
- Weather conditions
Spring and fall are often ideal planting seasons.
Be realistic about how much work you can complete each weekend if doing it yourself.
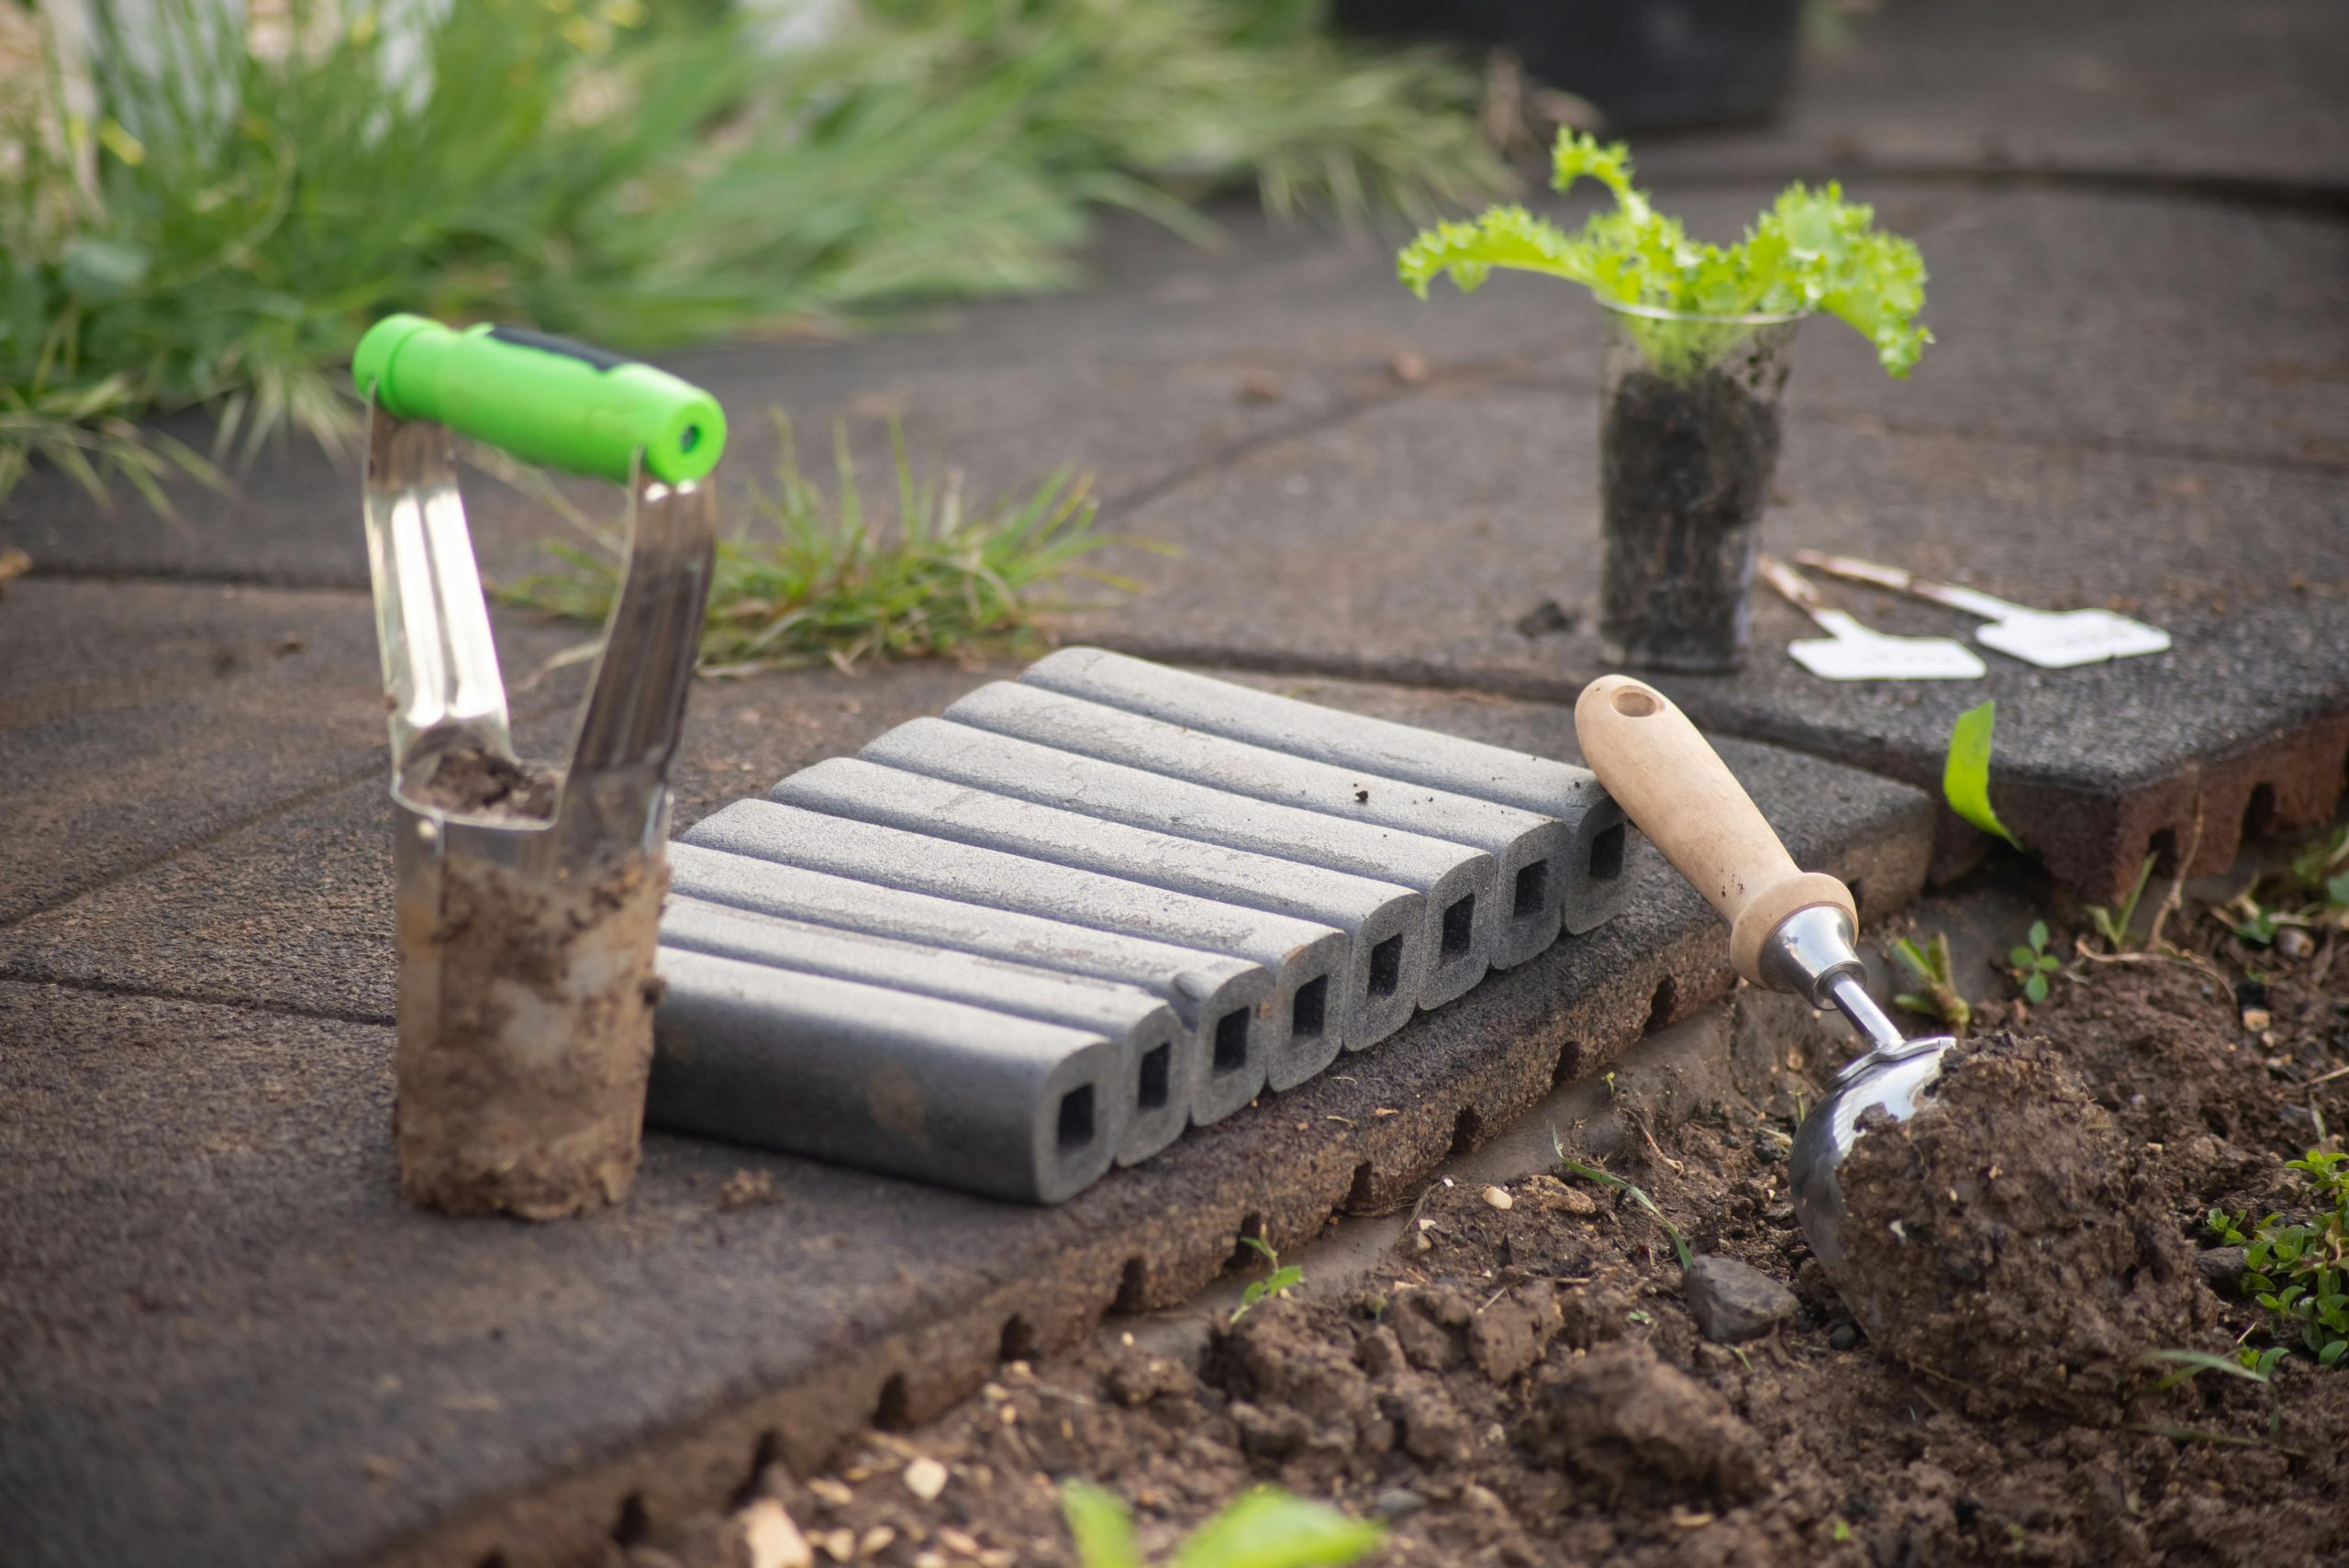
Step 14: Prepare the Site Properly
Site preparation is often overlooked but extremely important.
Before planting or building:
- Remove weeds
- Level uneven areas
- Improve soil quality
- Add compost if needed
Healthy soil supports strong plants. Skipping preparation leads to long-term problems.
Step 15: Install in the Right Order
Follow a logical order to avoid rework.
- Major grading and drainage
- Hardscaping
- Irrigation
- Planting
- Mulch
- Lighting
- Decorative features
Installing out of order may cause damage to completed areas.
Step 16: Maintain Your Landscaping
Once your landscaping project is complete, maintenance protects your investment.
Regular tasks include:
- Watering
- Pruning
- Weeding
- Fertilizing
- Checking drainage
Set a simple seasonal schedule.
Low-maintenance landscaping does not mean no maintenance. A little consistent care keeps your yard looking fresh and beautiful.
Step 17: Evaluate and Adjust
After a few months, evaluate your yard.
Ask yourself:
- Are plants thriving?
- Is drainage working properly?
- Does the layout feel functional?
- Is anything overcrowded?
Small adjustments are normal. Landscaping is an evolving process.
Final Thoughts: Plan Smart, Upgrade Confidently
A successful landscaping project is not about spending the most money. It is about thoughtful planning, realistic budgeting, and smart design.
When you:
- Define clear goals
- Create a practical layout
- Choose the right plants
- Plan drainage and hardscaping carefully
- Break the project into manageable steps
You reduce stress and avoid costly mistakes.
Landscaping improves more than just your yard. It increases property value, enhances curb appeal, and creates outdoor spaces you actually enjoy using.
By following this start-to-finish guide, you can approach your landscaping project with confidence and transform your outdoor space into something functional, beautiful, and long-lasting.
Start with a plan. Stay patient. Focus on long-term success. Your upgraded outdoor space is closer than you think.